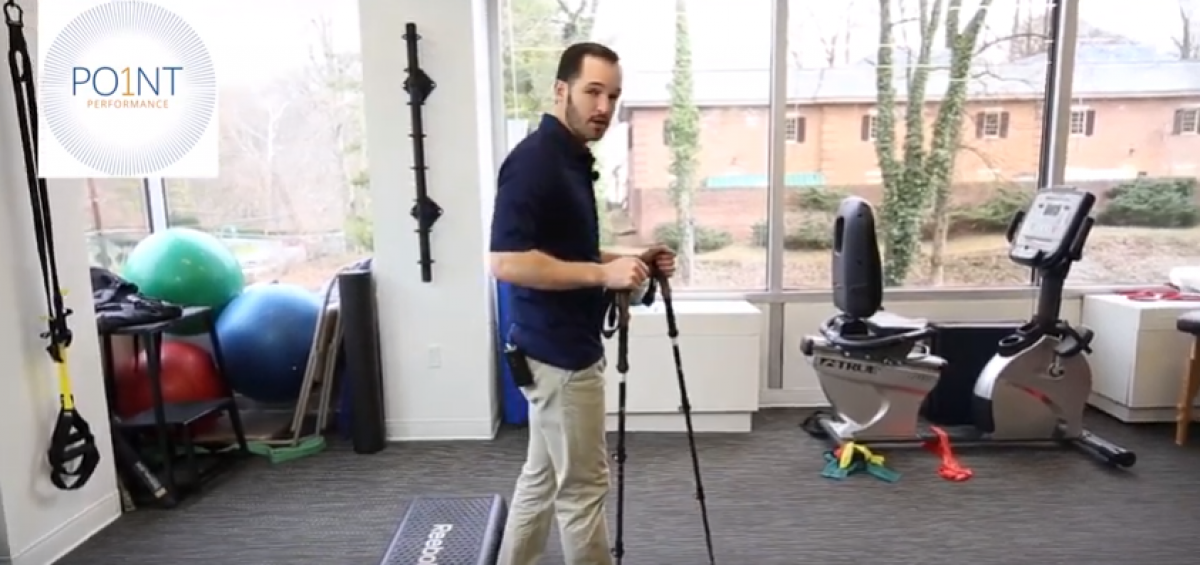
Spring is here and there’s no better time to hit the trails. Research shows going downhill with trekking poles can reduce strain on the knees by 12 to 25%. Point Performance has some tips and tricks for putting a spring in your step by using trekking poles on your hikes and long walks. In this video, Point Performance’s Joey Flood breaks down how to use trekking poles safely on uphills and downhills.
Directions:
When getting set up, you want your trekking poles’ height so your arms can be resting at a 90 degree angle. Flood prefers his at a little less, to improve his push off.
While poles are commonly favored for downhill, Flood suggests using the poles on uphill or on flat ground to reduce the strain on your legs and involve your arms. If you’re going to be going uphill or downhill for awhile, you may need to adjust the height of your poles so you don’t overwork your arm.
For going uphill, you will want to shorten the poles slightly. Some poles will allow a hand grip under the handle as well. By shortening the poles, you’re not overextending the arm and reducing strain on your elbow joints.
Going downhill, you’ll need to lengthen your poles by a couple inches, depending on the slope. You’ll also want to keep your hand on top of the pole to use it as a braking mechanism as you descend.
Flood’s last tip is to properly use the wrist straps. By using them, you’ll avoid death gripping the poles. Place your wrists through the strap, and float your hand on top of the wrist strap. This will allow you to go for miles and miles comfortably.


